Suzhou-style savory meaty mooncakes – Happy Mid-autumn festival!

OLYMPUS DIGITAL CAMERA

If you have ever had Chinese mooncakes, the chances are you had the Cantonese-style ones, which are usually filled with various sweet fillings (good for long preservation) such as coconut crunch, red bean paste, etc and the outer layer is a hardened skin (easy to package).  

It is much easier to get Cantonese-style mooncakes as they preserve much better and longer than the much more demanding type: Suzhou-style mooncakes.  It is the best when just fresh out of the oven to enjoy Suzhou-style mooncakes and the flakey crispy layered outer skin and the meat filling inside makes it literally impossible to mass package with preservatives without breaking it or spoiling its flavor.

I am from Shanghai, where we consume the Suzhou-style mooncakes the most.  It is a ritual to line up after the traditional dimsum shop on the day of mid-autumn festival and enjoy the hot mooncakes with family members while appreciating the full moon.  🙂

Since it is a lengthy and labor intensive process, I will jump right into the topic of making them today.

Ingredients:

Filling:

1 lbs of 70% ground pork

1 medium egg

3 cloves of garlic, very finely minced

1.5 tbsp of ginger, very finely minced

3 tbsp of green onion (only the green portion), finely minced 

Sesame oil

3-4 tbsp of Sugar

2 tbsp of Aged soy sauce

2-3 tbsp of Soy sauce

Salt and pepper

Oil dough:

1 – 1 1/4 cup of all purpose flour

4-5 tbsp of lard

Water dough:

2 cups of all purpose flour

6 tbsp of WARM water

4-5 tbsp pf lard

5-6 tbsp of sugar

Now crack the egg into the ground pork and mix all the filling ingredients all at once with hand.  Make sure the filling is not too runny.  Cover the filling up and let sit in the fridge to cool for at least 30 min.

OLYMPUS DIGITAL CAMERA

We will make the water dough first.  Let the lard melt a bit in the warm water.  Mix the flour, water, lard and sugar well, you should be able to create a dough that stretches to semi-transparent smooth texture.  Wrap the dough with plastic wrapper and let sit in room temperature for at least 30 min.

We make the oil dough second.  Use hand to mix the flour and the lard, throughout the mixing process the lard will melt slowly and combine well with the flour.  You should be able to get one big dough to form but upon touching, the dough has some flakey texture and that is ok for the oil dough.  Wrap the dough with plastic wrapper and let sit in room temperature for at least 30 min.

OLYMPUS DIGITAL CAMERA

Now divide the water dough and the oil dough into about 16 equal-sized pieces and make sure the once you are not using are still being wrapped so that the doughs do not dry out while you make other mooncakes.  Roll out one piece of the water dough, spread one piece of the oil dough onto the rolled out water dough.  Mix with hand, form a bigger ball, and roll out the mixed dough again.  Roll the dough out to as thin as you can.  A good estimate of thickness is if you were to divide up the filling to 16 equal portions, can your dough wrap all over each portion.  Turn the oven onto 350 F.

OLYMPUS DIGITAL CAMERA

Once the mixed dough is rolled out to desired size, add the filling and close it up on the top.  Place the wrapped mooncake with the closed-top down, use your hand to re-shape the mooncake a bit to make sure it is round.  Bake with top down for 15 min and flip and bake for another 15 min.  Flip again and give it a finishing touch and bake for another 5 min.  Do this for all the 16 mooncakes. If you would like a more baked look on the outside, give the exterior a light brush of egg-wash for the last couple of minutes in the oven.

OLYMPUS DIGITAL CAMERA

If you cannot finish them all at once, I suggest you bake the once you want to save for later at 320F each side for 15 min and finish with another 5 min.  And then put the mooncakes side by side in a container straight to the freezer.  You can reheat them up in microwave for a couple of minutes and then into a preheated oven at 350F for another 10-15 min.  Make sure you eat them all within a few days to ensure the best tasting!

OLYMPUS DIGITAL CAMERA

Happy mid-autumn festival everyone!  🙂

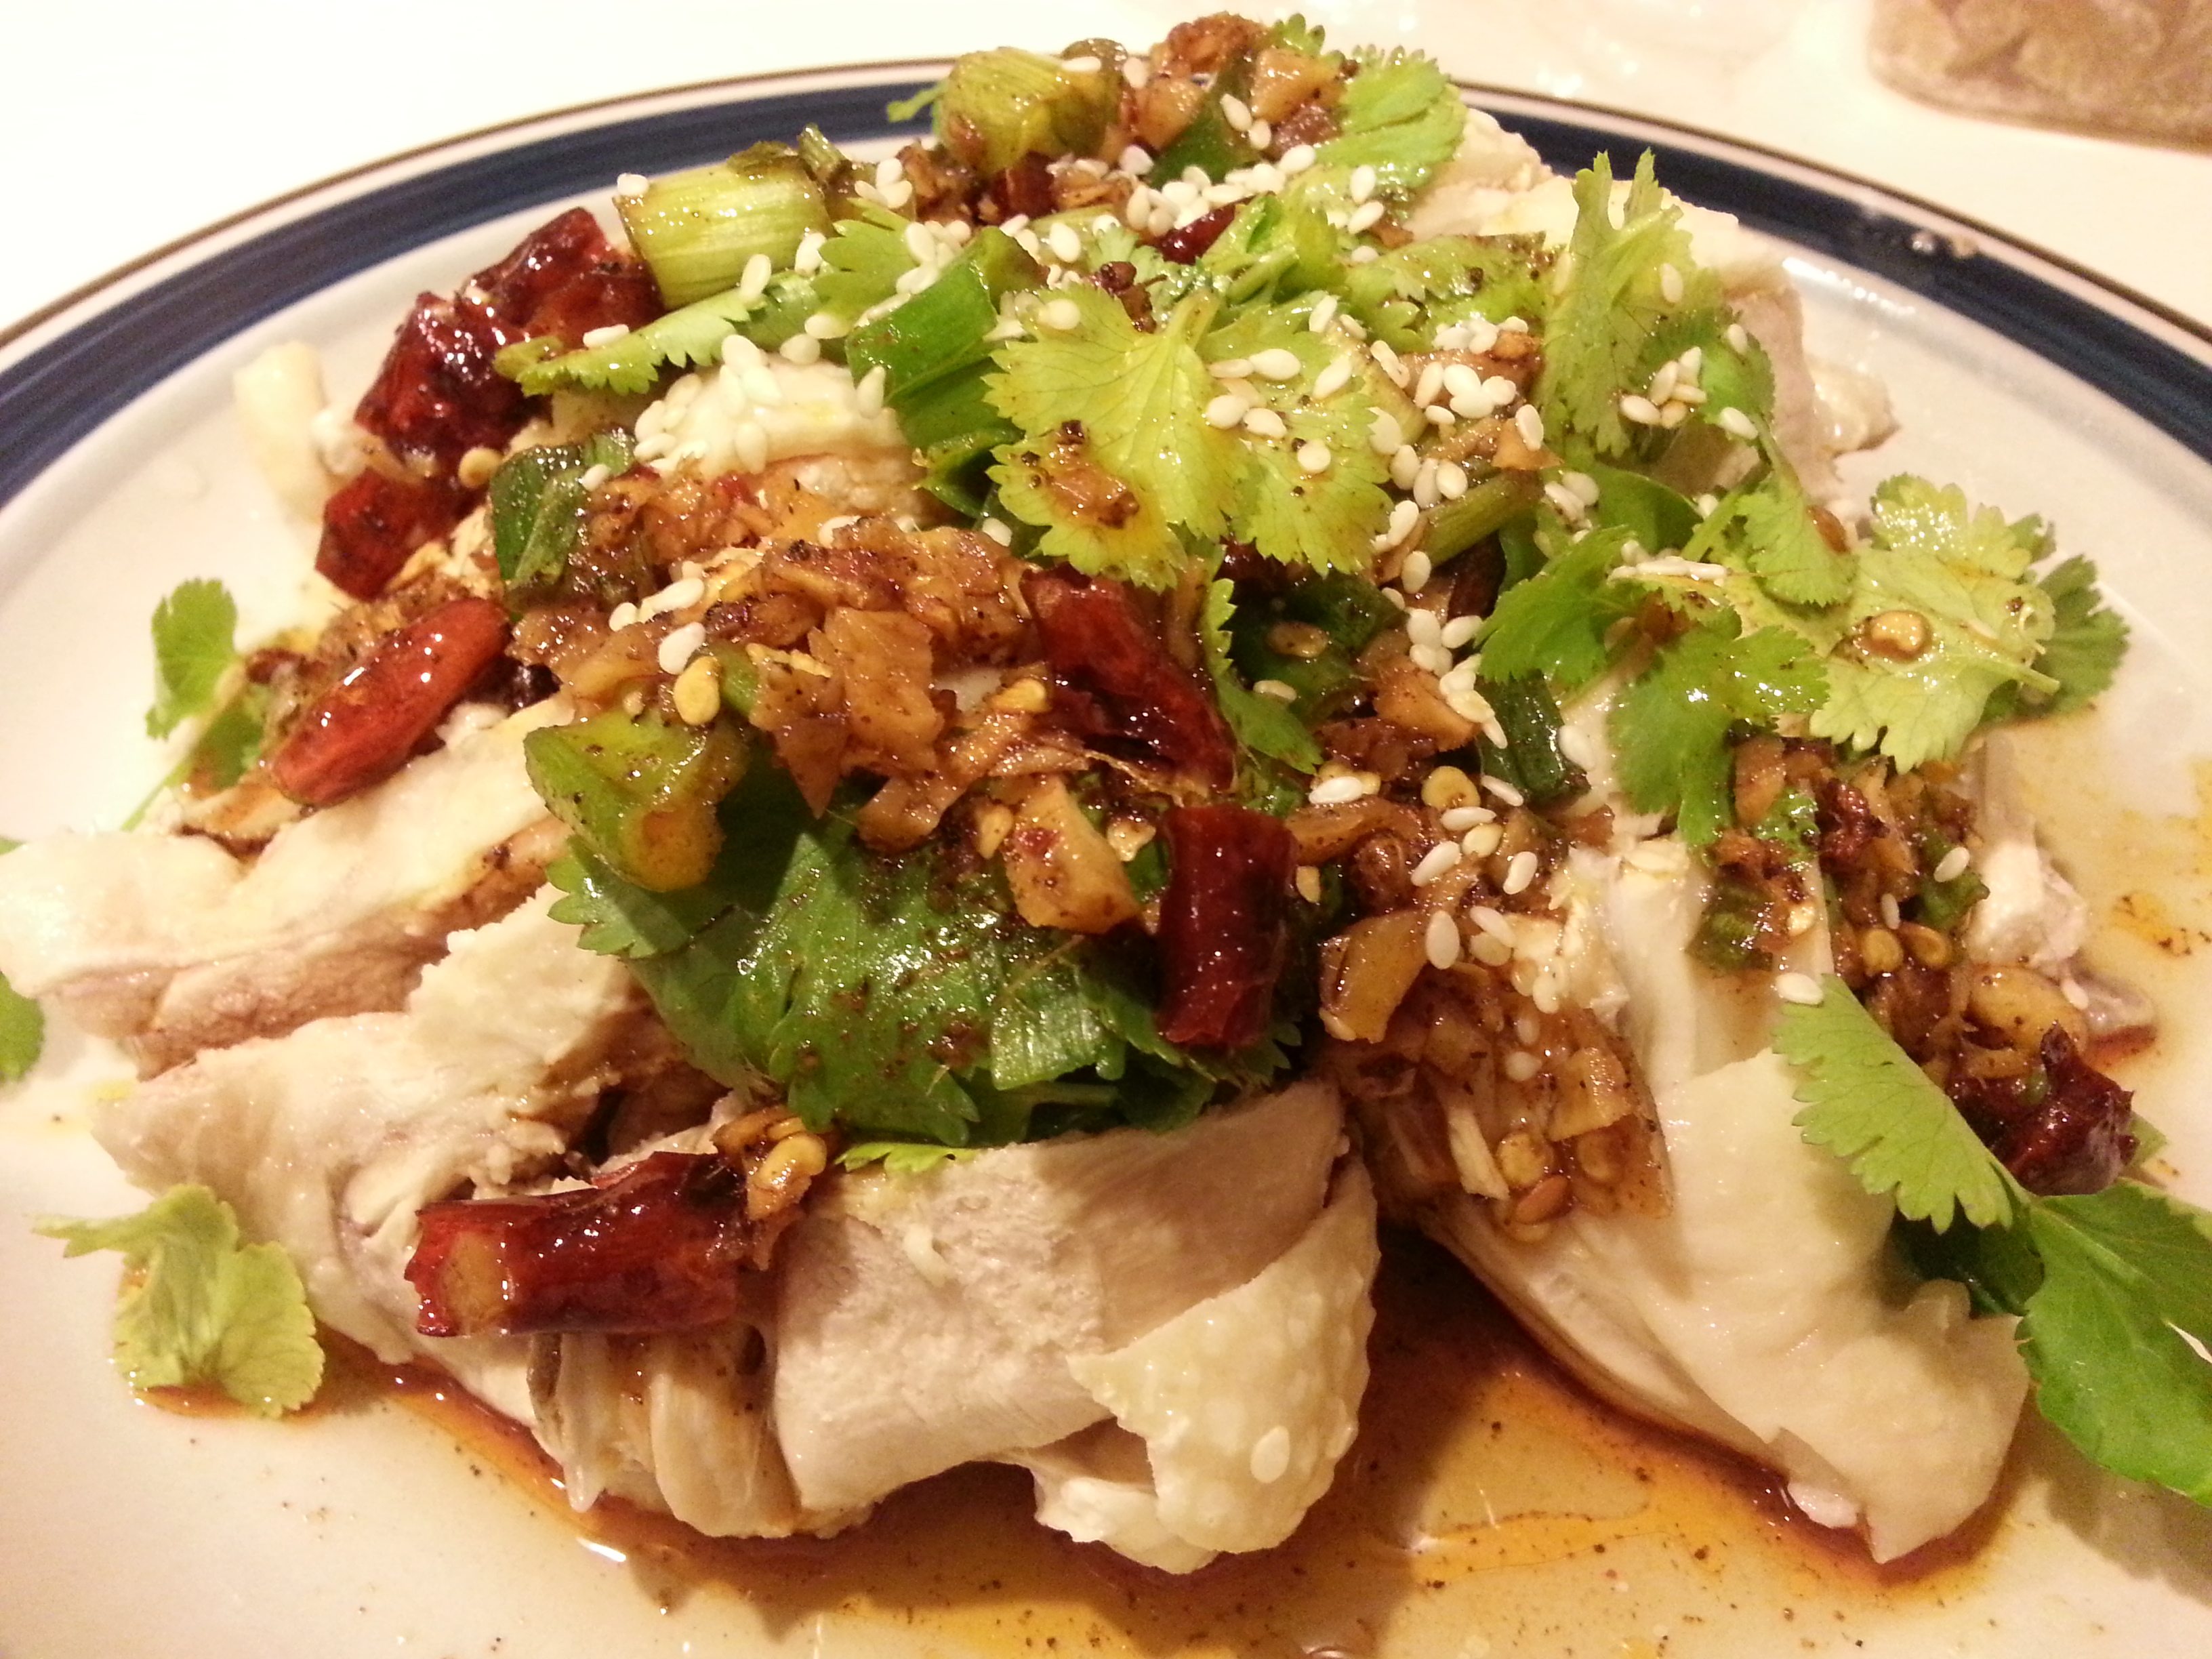
PS. for the first-timer eaters, the filling should be succulent and juicy, bursting with flavors of the pork with a hint of sweetness and saltiness and all other supporting spices. The higher the fat content of the ground pork, the better it helps with the juiciness. The skin should be flaked easily, presenting thin crispy layers. It is so sumptuously delicious that you will never look back! 🙂

Pickled duck gizzards

Lots of Chinese eat seasonally like rituals, so does my mum. When it got to the tail end of spring and summer time lurked, my mum would start to make tons of seasonal dishes, pickling some duck gizzards was one of these dishes. I got some already cleaned duck gizzards in nearby Asian market and decided to follow my mum’s suit.

Ingredients:
1 lbs of duck gizzards
3 cloves of garlic, minced
1 thumb-sized ginger root, peeled and minced
2 green onions, finely chopped
3-4 red chili peppers, chopped
1 tbsp coconut oil
1/2 cup Chinese cooking wine
1 cup Chinese wine pickling sauce
Salt and pepper

OLYMPUS DIGITAL CAMERA

Heat up the coconut oil in a pan in medium-high heat. Add garlic, ginger, green onion, and red chili peppers. Stir fry until smelling the spices’ aroma. Add salt and pepper to taste. Turn the heat off and set the pan aside.

Heat up 4 cups of water in a kettle and another 4 cups in a pot until boil on medium heat. Add gizzards into the pot and let cook for 3-5 min. Drain the water in the pot and run icy cold water on the gizzards for about 1 min. Pour the boiled water from the kettle in the pot and transfer the gizzards back into the boiling water in the pot. Add the spice mixture from the pan to the pot. Let simmer on medium to low heat for about 10-35 min depending on how cooked you want the gizzards be. Add salt and pepper to taste. Take out all the gizzards and run icy cold water on the gizzards for another 1 min. If you cook the gizzards in the water long enough, with all the spice mixture in it, you can reuse the broth for other things — I made some pho with that broth. 🙂

In a air-tight container, add the gizzards, throw in some of the spice mixture, cooking wine and pickling sauce. Refrigerate the container and wait for at least 2 days. Slice up the gizzards before serving.

Serve it as a cold appetizer by itself with a bottle of cold light beer, or get creative. I threw a few slices on husband’s grilled cheese sandwich the other day and as someone just tried the gizzards for the very first time, he was pleasantly surprised and thoroughly enjoyed it! 🙂
Hope you will like them as much as I do too!

OLYMPUS DIGITAL CAMERA

PS. I made this quick noodle dish that took literally under 15 min that used duck gizzards as the side protein and garnished it with a lot of colorful vegetables. Another way to eat the gizzards. 🙂

Sichuan-style aromatic spicy frog legs

When it comes to eating, the Chinese and the French seem to be in sync on a lot of notes – so is the case with frogs. On a frog, the most delicious part is frog legs, it is meaty, tender, and juicy with a mild flavor which can be easily seasoned into anything you like. I love frog legs, they were definitely a treat during my childhood when my mum had a craving for frogs. Lol. Today, I am going to prepare a dish that is spicy, savory and well-balanced using frog legs.

Ingredients:
4-5 full frog bottoms or 8-10 individual frog legs (chopped into pieces according to joints, optional)
2 stems of green onions, finely chopped, separate the root white parts and the top parts
4-6 red chili peppers, chopped
2 tbsp of ginger, sliced
2 cloves of garlic, minced
1/2 slab of rock candy
4-5 tbsp of spicy bean paste
1 tbsp of soy sauce
3-4 tbsp of coconut oil
1 tbsp of sesame oil
4-5 tbsp of Chinese cooking wine
Salt and pepper

OLYMPUS DIGITAL CAMERA

Clean the frog legs and put all of them in a container, pour in the Chinese cooking wine, rub in salt and pepper, let sit for at least 10 min.

Heat up coconut oil in a large wok. Turn the heat to medium and add rock candy and red chili peppers. Keep stirring until the candy melts and one can smell some aroma coming from frying the chili peppers. Add root parts of green onions, ginger, garlic, and spicy bean paste. Turn the heat to medium-high and stir until you see the oil turns reddish.

Turn the heat up to high. Throw in the frogs with the cooking wine. Stir constantly and turn the frog legs to make sure the largest thigh pieces turn white and opaque. Add the top parts of the green onion and the soy sauce. Stir to mix well. Add the sesame oil. Salt and pepper to taste.

Once the frog legs all turn white and opaque, put on a lid and turn the heat back to medium. Let simmer for about 5-8 min. If the meat falls of the bone with slightest touch with fork, then the frog meat is fully cooked. Serve immediately.

It was such a wonderful treat! I am looking forward to cooking the other package of frogs a different way! Thanks for checking in! 🙂

Shanghainese red braised pork belly

Have you ever thought about replacing “honey-glazed ham” with something else, potentially more divine for your holiday celebration? What about some sweet and savory braised pork belly?

Pork belly?! Does not sound very appetizing? What about this? Bacons? Better? Better yet, bacon IS pork belly, it is nothing but thinly sliced pork belly – but pork belly can be so much more and beyond! 😛

I cooked this traditional Shanghainese household dish during Christmas and received many compliments over how salivating this dish was. This dish is THE dish that will remind most of the Shanghainese kids of home. And today, let’s make this dish and satisfy your tummy!

OLYMPUS DIGITAL CAMERA

Ingredients:
2 lbs of pork belly (after cooking the meat shrinks about 30-40%, 2 lbs probably last 5-6 people for one meal, I cooked about 4 lbs of pork belly on Christmas Eve), chopped into 1 cubic inch chunks – the chunks should be cut so that lean/fat/lean/fat/… layers alternate and see picture below for reference.
Soy sauce, about 1 cup
Rock sugar or slab sugar, about 1 – 1.5 cup
Coconut oil, about 1/2 cup
Star anise, 5 – 6
Sichuan peppercorn, 10 – 15
Cinnamon bark, a few small pieces
Salt and pepper
Chinese cooking wine, 1/2 cup

Heat up coconut oil in a large wok and prepare a dutch oven/Chinese ceramic pot on the side. Add the sugar while turning heat to medium-high. Continuously break down the sugar by stirring until the sugar completely melts and the mixture of oil and sugar will look a little brown. Add the pork chunks and stir fast until all the pork chunks are coated with sugar/oil mix.

Quickly dish all the pork into the dutch oven/ceramic pot. Add cooking wine, soy sauce, star anise, Sichuan peppercorn, and cinnamon bark pieces. Set the heat on low and let simmer for at least 1.5 hours but not necessarily longer than 3 hours. Add water in the process if needed. About 15 -20 min before finishing, add salt and pepper and let cook till done.

OLYMPUS DIGITAL CAMERA

The meat should be extremely tender and juicy – when eating it, the fat layer melts in your mouth while the lean part provide a tiny bit of resistance. And the sauce bursts out so easily, it was the most fabulous thing! It is salty from soy sauce and sweet from the sugar and once reaching the balance between the two, the finished dish is to die for!

If you do not have enough meat, you can add a few hard boiled eggs or tough tofu chunks into the ceramic pot to bulk up the dish volume. I understand this will be tough competition but I hope once you tried this way of eating pork belly, you will never miss bacon again! 🙂

Spicy and sour rainbow trout

I noticed a few of the Thai hot peppers turned red in the garden today and decided to pair the hot peppers with the tail of rainbow trout I had.

20130721_193832_LLS

These Thai hot peppers are quite spicy so I only use a few of them whenever I cook with them.

20130721_130446

Ingredients:
Two finger sized ginger, thinly sliced
3 large cloves of garlic, coarsely chopped
3-5 Thai hot peppers, chopped
4-5 tbs of Chinese cooking wine
2 tbs of soy sauce
2 tbs of chinkiang vinegar
2 tsp of sugar
4 tbs of sesame oil
Salt and pepper

Clean up the fish guts if you are starting with a whole fish. Cut a line along the fish belly. Cut a few lines across the fish body on both sides. Sprinkle salt over the fish and massage the coat of salt well into the cuts. Stuff the fish belly with ginger slices, chopped hot peppers, and chopped garlic bits. Pour 2-3 tbs of the cooking wine and 1 tbs of the vinegar over the fish and let the fish marinate for about 30 min to 1 hr. Take out all the ginger, hot pepper and garlic bits and pour everything together with liquid residual into a bowl for future use. Set the fish aside.

20130721_170842_LLS

In a hot wok, add sesame oil. Add the fish and sear both sides (each side takes about 1-1.5 min in high heat) until the white part of the skin turns golden. Add soy sauce, rest of the cooking wine, rest of the chinkiang vinegar, and the sauce bowl with ginger, garlic, hot peppers into the wok. Add 1-2 cups of water so that the whole fish is almost covered. Add salt, pepper and sugar. It is important to note that in the curvature of a wok, it requires less sauce to cook the fish just due to the way the fish is bent; in a flat pan, the ratio and the amount of sauce needs corresponding modification. Cook the fish in the broth in medium low heat and add water as needed. It takes about 10 -12 more minutes to cook the fish and use a ladle to pour sauce over the top side constantly. If you are curious whether the fish is fully cooked, you can make a cut on the top and see if the flesh is cooked there.

This is a slight change from a famous dish in China: sweet and sour river/lake fish. Adding some spiciness to this dish is a quite pleasant discovery. The fish turned out very tender, juicy and it went wonderfully with the broth. There was some de-boning action while eating, so it was not the prettiest eating scene but it was finger licking good!!! Lol. Try pouring a few spoonful of broth to rice (if you are eating with some kind of carbohydrates), it will blow you away! 🙂

Enjoy!

Zongzi-making Attempt to observe Dragon boat festival

Dragon boat festival is a day dedicated to famous ancient Chinese poet, Yuan Qu and is celebrated with zong-zi making/eating, dragon boat rowing, and other rituals. This is a festival not only observed in China, but also Japan, Korea, etc.

It has long past Dragon boat festival (June 12th this year), but I had stocked up all the ingredients needed to make my favorite kind of zongzi – so I am observing the tradition much later, in July. Lol.

Ingredients: yielding ~15 zongzi, 1-2 can fill one person up

Pork belly, 1lbs, cut into 2cm cubics
Preserved egg yolks, 15 count
White glutinous rice, 2-2.5 lbs of rice
Dried large leaves for zongzi (banana, bamboo, etc.), 30 count
Ropes, 1 spool

3/4 cup of Soy sauce
1 3/4 cup of Aged soy sauce
2 teaspoons of Chinese yellow cooking wine
1 teaspoon of five-spice powder
3 teaspoons sugar
Salt and pepper
Sesame oil

20130705_192454

In a bowl, mix soy sauce, 1/4 cup of aged soy sauce, cooking wine, five-spice, sugar, salt, pepper and sesame oil. Marinate the pork cuts in the mixed sauce for at least 8 hrs to a day.

Wash the glutinous rice before using. Drain the water and slowly add 1.5 cup of aged soy sauce to the rice and mix well using hands. Wait for about 2 hours until glutinous rice takes on a darker color. Add water or drain excessive amount of liquid if needed.

Boil water in a large wok. Throw in the bamboo leaves in batches and pull them out when the leaves become soft and appear greener. Now the wrapping leaves are ready too.

20130705_204558

Use 2 bamboo leaves per zongzi. Add rice, then add a yolk, add 1-2 pieces of pork (be aware that pork belly shrinks a lot after cooking and the rice expands 2-3 times of its original size) and add rice to desired full-ness. Wrap the zongzi up with leaves and seal with tied up ropes.

This is my first time ever wrapping my own zongzi, and boy, they were not good looking ones. Lol. It takes a lot of practice to wrap them well.

You can refer to this Youtube video to get an idea how to wrap zongzi. It is much harder than it appears.

Once you have made a big batch of zongzi, you can freeze them and cook them later. To cook them, bury them in boiled water and cook for about 5 minutes and turn the heat to low and cook for another 2-3 hours. Add more water when the water level is low.

20130705_222630

The zongzi turned out to be a little bit dry on the meat and the egg yolk, maybe I should have marinated the rice a bit longer and cooked the zongzi with even lower heat. But overall, it was quite good – with fresh high quality ingredients and so much love, it is hard to “completely” screw it up.

Even though this trial is nowhere near perfection, but it was a great start! And it was such a labor intensive product that I felt the urge to blog this tremendous amount of effort going into making this happen. Lol. To taste that wonderful flavor again, I will try again sometime. 🙂

Beijing-style Cold Noodles with Sesame Sauce

It was 4th and I had been quite busy in the kitchen whipping up more food experiments. So, the long over-due Beijing-style cold noodles with sesame sauce recipe is finally here. 🙂

Ingredients: 2 serving bowls
Thin noodles, 16 oz
1/2 Cucumber, chopped into thin strips, on the side
1/2 Carrot, chopped into thin strips, on the side
A handful of thinly sliced Chinese BBQ pork, on the side
1-2 Green onions, finely chopped
A handful of cilantro, finely chopped (if available)
3 tablespoons of pure sesame paste (sesame paste was quite tricky to find for me, I had to go to a larger Asian grocery shop that is much farther away than the usual one I go to.)
4-5 tablespoons of water
1.5 teaspoons of soy sauce
1 teaspoons of Chinkiang vinegar
1 teaspoon of sesame oil
A pinch of sugar
Salt and pepper

20130705_123352

Mix salt and pepper, sugar, sesame oil, vinegar, soy sauce, water and sesame paste until they all become liquid-y sesame sauce. Add/reduce water to yield preferred texture. In a boiling pot of water, toss in the noodles and cook for about 5-10 min depending on the noodles. Stir occasionally. Once the noodles are soft enough, drain the hot water and run the noodles under icy cold water for about 30 sec. Sprinkle chopped green onions and cilantro on the top, add the sides such as the cucumbers, carrots, pork slices, and pour the sesame sauce onto the noodles.

And… Ta-dah! Here you go, a bowl of cold noodles, thoroughly enjoyed throughout the summer!!!

Xinjiang-style Lamb Kebabs

I have this beautiful cut of lamb round top of about 1lbs and am going to chime in this post about lamb kebabs that I made at home the other day first. This is a super easy recipe, the only thing that is a little annoying is that it involves some planning (a day ahead).

Ingredients: yields about 8 skewers with generous portion on them, definitely fills one person up; but with other side dishes, you probably can make 3 meals out of them.

1lbs Lamb round top, chopped into 1-2 cm cubes
10’s of Bamboo skewers, soaked in cold water for at least half an hour before using
1/2 cup of soy sauce
1/4 teaspoon of salt
1/4 teaspoon of black pepper
1/4 teaspoon of sugar
1/4 teaspoon of paprika
1/4 teaspoon of cayenne pepper
1/2 teaspoon of cumin

20130630_203545_LLS

Mix all the spices and soy sauce. Marinate the lamb with the sauce for at least 8 hours. Keep the meat in cool places. Assemble the lamb kebabs with the water-soaked skewers.

Turn the oven on to about 500 F. In a flat baking sheet, lay down the skewers respectively and cook each side of the skewers for about 10 minutes. Every time you turn the skewers, sprinkle some more cumin and paprika on the top. Turn the oven down to about 400 F and cook each side for about 3-5 minutes. Sprinkle more cumin on the skewers if you would like. Serve immediately.

Lamb x (cumin + soy sauce) = Yummy!!!!!

Boiled chicken with home-made chili sauce, aka “Saliva Chicken”!

Before talking about the dish, I want to talk a little about spiciness in Chinese food. There are a few provinces in China that are famous for spicy food, ie. Sichuan, Hunan, etc. There are three basic kinds of spiciness you will encounter frequently in Chinese dishes: aromatic spiciness (“香辣”), mouth-numbing spiciness (“麻辣”) and usual hot spiciness. I personally distinguish these three by which part of my body responds to the spiciness. Aromatic spiciness apparently is mostly stimulating to your sense of smell and for example it can come from when you cook the hot pepper seeds with some sesame oil. Mouth-numbing spiciness is generally a temporary numbness to the wall of your mouth and tongue and a typical mouth-numbing spice used is Sichuan pepper corn (or flower pepper “花椒”). And usual hot spiciness comes from all kinds of hot peppers and it is most stimulating to the throat which results in a lot of water drinking.

Although, I personally think there should be another kind of “spiciness” that only stimulating to your sinus, that comes from wasabi and horseradishes, which I LOOOOOVE. Well, that’s a different story. I’ll save it for the next time.

Saliva chicken is a popular dish from Sichuan province, where the Giant Panda comes from. And its flavor combines all three kinds of spiciness mentioned above and it also has a tint of saltiness and even sweetness. Also the fact that it is a cold dish (an appetizer usually) makes it less heavy and very fresh tasting.

By the way, there is absolutely NO ingredient involving saliva from anybody in this dish. It is called saliva chicken is because it is so tasty that just thinking about it or looking at it will make you drool. Calling it “mouth-watering chicken” is probably more appropriate. Lol.

20130516_211920

Ingredients:
1 lbs of meaty chicken parts, eg. thighs, breasts
1 tsp of ginger, coarsely sliced
1 tsp of garlic, coarsely cut
1/2 stick of green onions, coarsely cut

2 tsp of ginger, minced
3 tsp of garlic, minced
2 tsp of sesame seeds
1 stick of green onions, finely chopped
A bunch of cilantro leaves
2 tsp of sugar
Salt and pepper
3 tsp of chinese cooking wine
2 tsp of soy sauce
1 tsp of black vinegar (or I used rice vinegar for substitute)
1 tbs of sesame oil
10-15 dried hot chili peppers, chopped (do not lose the seeds)
1 tsp ground paprika
1/2 tsp of chili powder
1/2 tsp of cayenne pepper

Boil water in a large pot. Cook the chicken with coarsely chopped garlic, ginger and green onion for about 10-20 minutes. The time really varies here depending on the thickness and the size of the piece. Time it right so it does not get overcooked. Once cooked, drain the water and run the chicken under cold water for 10-20 seconds and soak the chicken in ice. This hot to icy cold process is critical to make the meat texture great! When the sauce is being cooked, you can chopped up the chicken to bite sized chunks. The chopped chicken should be kept in a cool/cold environment before ready to serve.

In a sauce pan, heat up the sesame oil. Add garlic and ginger. Stir until you smell the aroma. Add paprika, chili powder, cayenne pepper and chopped chili peppers. Cook in medium-low heat and stir until they blend well. The oil is turning red. Add sugar, cooking wine, and salt and pepper. Cook for another minute or two. Turn off the heat and add soy sauce, vinegar, sesame seeds and green onion. Stir well and let the sauce sit for 5-10 minutes. Add a layer of cilantro on top of the chopped chicken, and pour the sauce over.

This is easy to make. It is a cold dish and the spiciness brings back some appetite. A great summer dish to have at home! Enjoy!

Xinjiang-style Cumin Lamb

Cumin is the spice that is commonly and widely used in Uyghur (the major Xinjiang minority group) dishes. It brings fantastic flavor out of lamb meat. Cumin lamb is an ancient Xinjiang (Northwestern part of China) dish that can be traced back for like more than a thousand years ago.

Ingredients:
1 lbs of lamb leg, thinly sliced (Note: I only had ground lamb tonight, the texture is slightly less desirable but the flavor is still impeccable!)
1 tablespoon of Corn starch
Olive oil
Soy sauce
Coconut oil
1/3 white onion, thinly sliced
Cumin or cumin powder (Preferably to use cumin, it has a stronger scent and flavor)
White pepper
Chinese cooking wine
Salt and pepper
Chili powder
Paprika
Hot pepper oil
A bunch of cilantro, on the side

20130515_203445

Marinate the lamb slices with corn starch, some olive oil, soy sauce and some cumin powder – the meat just needs a coat but not to be smothered in the marinating sauce. Let sit for at least 2 hrs or overnight.

Prepare cilantro on the side of the plate.

Heat up coconut oil in a large pan. Add onion strips and cook until they are semi-transparent. Add the marinated lamb slices. Add some cumin powder, white pepper, Chinese cooking wine and hot pepper oil. Stir to mix well. When the lamb meat starts to change color, add more cumin powder, salt and pepper, chili powder and paprika. Please note that if you are using cumin, since it carries a much stronger flavor, you do not need to add as much as cumin powder. This dish is supposed to be savory, super aromatic with a little bit spiciness. Of course, gauge the spice ratio to cater to your own preference. When the lamb meat is completely cooked – this takes about 3-5 minutes, you can plate the dish and enjoy it with cilantro!

Everybody loved the dish and we totally “destroyed” it in like 5 minutes. I love the smell of cumin, absolutely inviting and salivating! Using the only Uyghur word I know to describe the dish, “YAKEXI!!!” (meaning, GOOD!!) Lol. 🙂